
Please note: Starting with SureSync 9, Access is no longer supported as a database. It's strongly encouraged that you convert to SQL for better reliability and performance
The default database format for SureSync is an Access database. SureSync also supports SQL 2005 and newer databases. The SQL database format is recommended for large synchronization jobs, databases with many jobs (more than 50), or a large number of multi-directional Rules. SureSync provides a copy database function to provide simple migrations from Access to the SQL database format.
Steps to Convert a Database from Access to SQL
To start the process, click on the Home button, click on Database and finally click on Copy Your Database. You will see the following dialog:
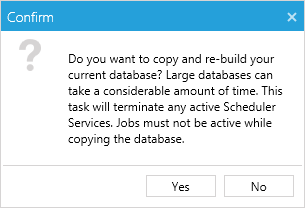
This dialog is simply a warning that the copy process can take some time, click "Yes" to continue.
The next dialog will be displayed:
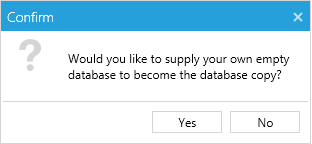
SureSync can create a database for you and copy the contents of the Access database into the newly created database. For most users, this is the desired behavior and the "No" button should be clicked.
In some high security environments, the user account the SureSync Desktop is running under does not have the permissions necessary to create SQL databases. In those cases, you can provide a blank SQL database for SureSync to use. This database is created by a user with the necessary privileges on the SQL server to create the empty database. If you want to provide an empty database, click the "Yes" button.
Creating the Database Copy with SureSync
If you are having SureSync create the SQL database and perform the copy, the next panel allows you to define details about the SQL database. Start by selecting the 'SQL Server Database (*.mdf)' radio button.
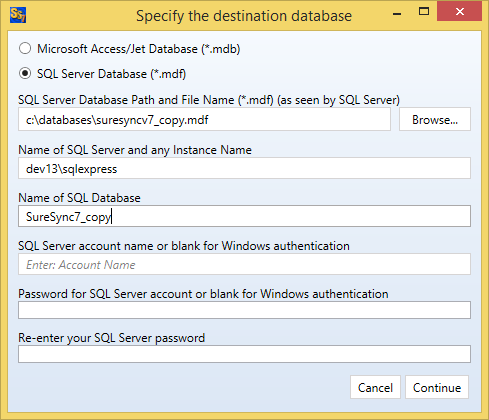
In addition, the following details must be provided:
- SQL Server Database Path and File Name (*.mdf) (as seen by SQL Server): Enter the path where you want SureSync to create the SQL database files.
- Name of SQL Server and any Instance Name: Enter the name of the SQL server and any required instance name. Please note that the 'SQL Server Database Path and File Name' filed is from the perspective of the machine entered here. For example, in the screenshot the "C:\Databases" directory must exist on the dev13 machine for the database to be successfully created. If you are connecting to a SQL instance such as the default SQL Express instance it should be listed as machine\instance. For example, dev13\sqlexpress.
- Name of SQL Database: Enter the name of the SQL database.
The following fields are optional and provided only when using SQL authentication (these fields are left blank for Windows authentication):
- SQL Server account name: Enter the account name for the SQL authentication account you would like to use. For example, sa.
- Password for SQL Server account: Enter the password for the SQL account.
- Re-enter your SQL Server password: Enter the password for the SQL account a second time.
Click the 'Continue' button.
Databases with a Large Number of Log Entries
If your source database contains a large number of log records, you will be presented with the dialog shown below. This dialog gives you the option to not copy all log records older than 24 hours. This will result in a smaller copied database and allow the process to complete faster.
Click the 'Yes' button if you want to not copy the old log records. Click the 'No' button if you want to retain the log records.
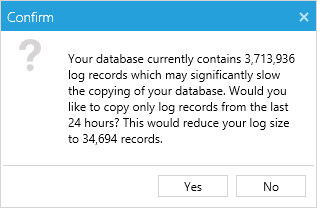
If your database does not have a large number of log entries, you will not see this prompt.
When the copy process is complete, you will see the following dialog:
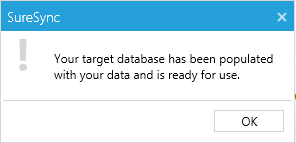
Click the 'OK' button.
The following dialog will then be displayed:
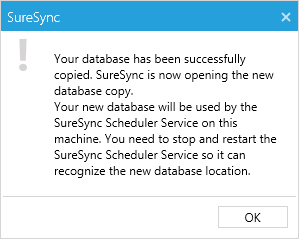
Click the 'OK' button and the newly copied database will be opened by the SureSync Desktop.
Using an Existing Blank Database
If you are copying into an existing blank database, you will be presented with the 'Open an Existing SureSync Database' dialog.
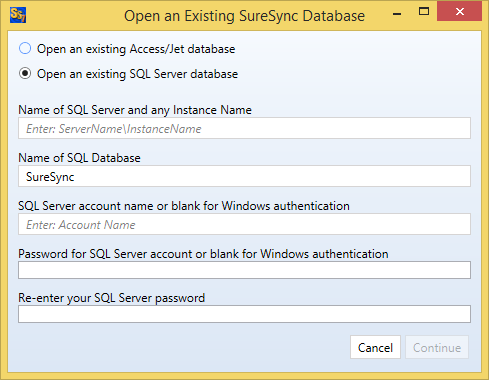
In addition, the following details must be provided:
- Name of SQL Server and any Instance Name: Enter the name of the SQL server and any required instance name. If you are connecting to a SQL instance such as the default SQL Express instance it should be listed as machine\instance. For example, dev13\sqlexpress.
- Name of SQL Database: Enter the name of the SQL database.
The following fields are optional and provided only when using SQL authentication (these fields are left blank for Windows authentication):
- SQL Server account name: Enter the account name for the SQL authentication account you would like to use. For example, sa.
- Password for SQL Server account: Enter the password for the SQL account.
- Re-enter your SQL Server password: Enter the password for the SQL account a second time.
Click the 'Continue' button.
Databases with a Large Number of Log Entries
If your source database contains a large number of log records, you will be presented with the dialog shown below. This dialog gives you the option to not copy all log records older than 24 hours. This will result in a smaller copied database and allow the process to complete faster.
Click the 'Yes' button if you want to not copy the old log records. Click the 'No' button if you want to retain the log records.
If your database does not have a large number of log entries, you will not see this prompt.
When the copy process is complete, you will see the following dialog:
Click the 'OK' button.
The following dialog will then be displayed:
Click the 'OK' button and the newly copied database will be opened by the SureSync Desktop.